After having filmed yourself properly, comes the editing part. How does it look like? ✂
It’s not only choosing the best moments of the best takes and putting it together, it’s also the moment to ‘optimise’ the footage, as well as adding other elements such as an Intro, Text, Illustration shots…
Here’s the final video of a series about #filmingyourself. Today an overview of the editing phase.
1. Importing Files
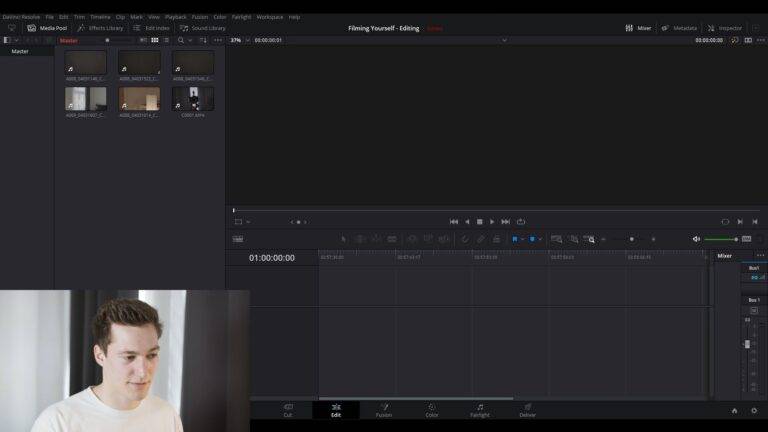
First import your files, you have on the left “Media Pool”, where you can import and manage all your video files and other elements.
2. Creating a Timeline
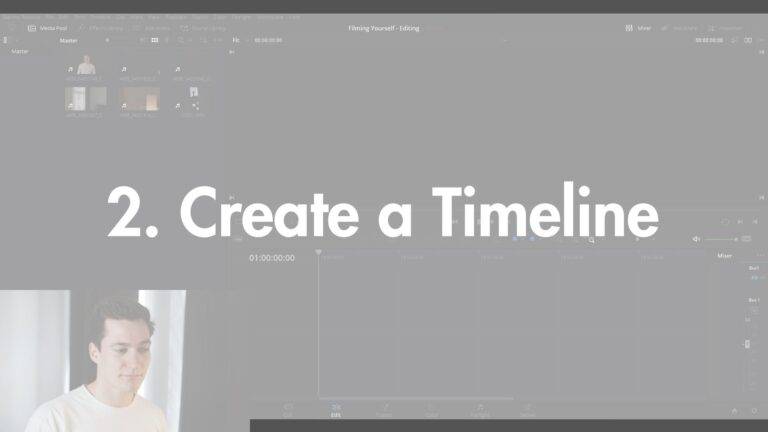
Then create a timeline, simply drag and drop one clip.
Now you have a timeline with a monitor and once you understand this, you basically know how to use an editing software.
Just imagine a piece of analog film with a screen projection and you can reduce this piece of analog film to keep the very best, as well as move it around, add as many pieces as you want.
3. Reviewing and adding clips
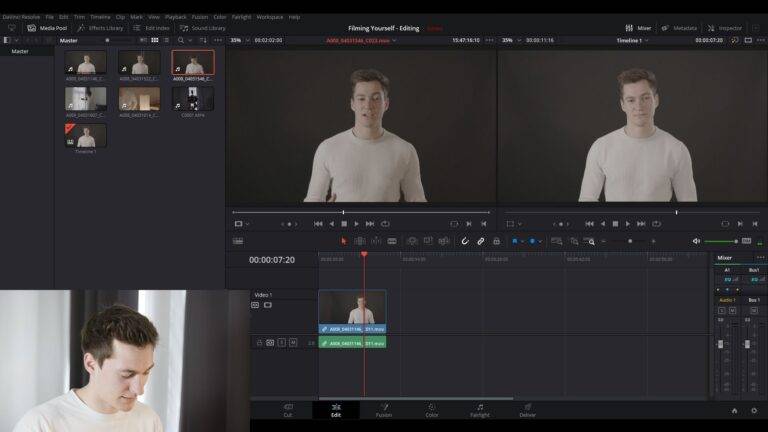
You can then add a second monitor to review the other takes and choose the best parts before putting it in your timeline/editing table.
Continue adding other clips, move them around.
4. Adding other elements
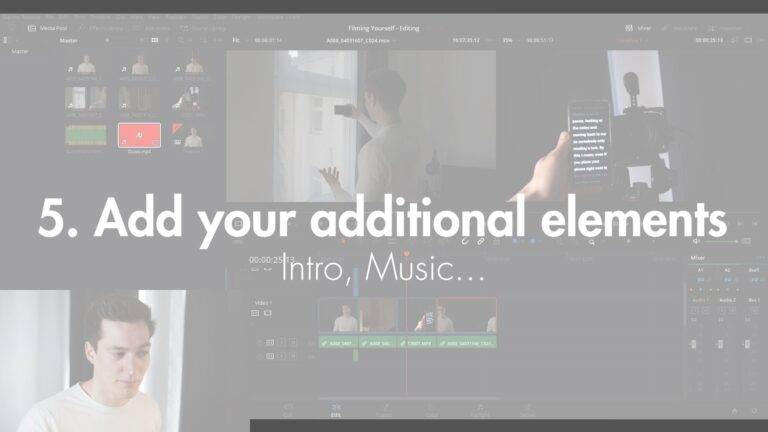
Then import your other elements, an intro, an outro, a music, different text elements…
5. Optimisation (color and sound correction)
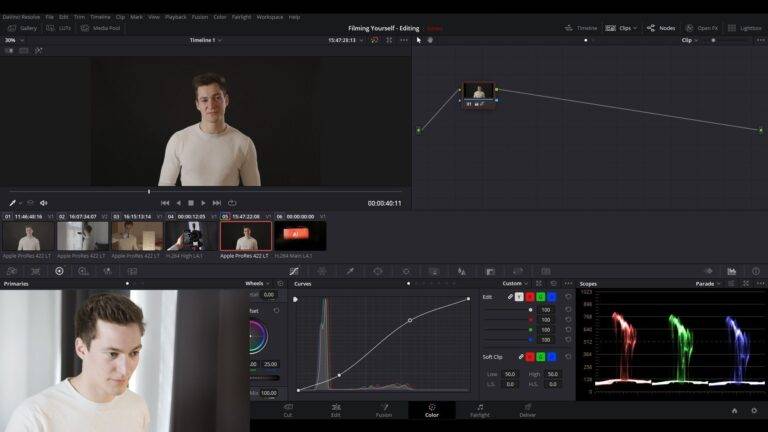
Then comes the optimisation process.
First the color, adding some contrast, saturation.
Then the sound.
Here we’ll simply make it a bit louder.
6. Exporting
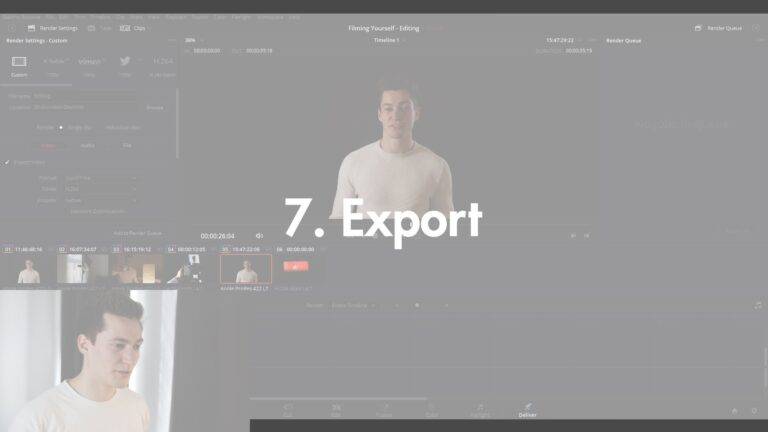
Next go to Deliver, we’re ready to export.
Simply choose the right settings. In general, go for H264.
That’s it, you have a great video ready to be shared.
SHARE THIS POST

